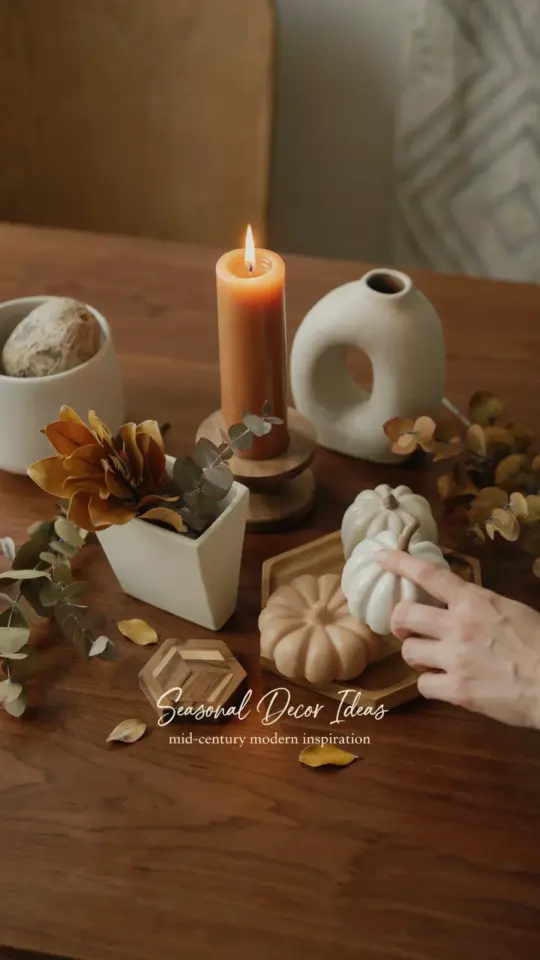
Look, I have a confession about seasonal decor ideas. I once painted a whole batch of wooden snowmen for a craft fair without sanding a single one. And not gonna lie, by the end of the weekend, they looked like they had some kind of weird paint disease. The paint was peeling off in these sad, thin strips, and I wanted to hide them under the table.
That failure taught me more than any successful project ever did. The absolute biggest mistake that makes your DIY home ideas look cheap isn’t your color choice or your sloppy glue gun skills. It’s skipping the sanding step. Seriously, it’s the most boring, tedious, unglamorous part of wood crafting, and it’s also the one thing that separates a handmade treasure from a handmade disaster.
So let’s talk about why a single sheet of sandpaper can save your seasonal crafts, and how to do it right. This is a beginner-friendly guide, so if you have never touched a power tool in your life, you are in the exact right place. We are going to fix this problem together, and honestly, you will be amazed at the difference.
Why Paint Peels and Bubbles on Unprepared Wood
Have you ever painted a wooden sign, let it dry, and then noticed the paint cracking around the edges? That’s not just bad luck. Fresh or unfinished wood has a smooth, almost waxy surface layer, plus tiny little fibers that stick up.
When you paint directly onto this, the paint sits on top of the fibers instead of bonding with the wood grain. It has nothing to grip, so it lifts, cracks, and eventually flakes off. Think of it like trying to stick a Band-Aid to a sweaty arm. It stays for a little while, but it does not last.
Sanding opens up the pores of the wood and knocks down those fuzzy fibers. It creates a microscopic texture that acts like tiny little anchors for your paint. This is especially true if you are working with cheap craft wood from a big box store. Woodcrafting is totally fun, but it requires a little bit of prep work to look professional.
The Right Way to Sand Your Wood Craft (It’s Easier Than You Think)
Ok so here is the thing, you don’t need a fancy electric sander to get a good result. For most small seasonal crafts, a simple sanding block or even just a piece of medium-grit sandpaper is perfect. You want something around 120 to 150 grit. Not too rough, not too fine.
Wrap the sandpaper around a small block of wood or just use your fingers. Then, rub it in the same direction as the wood grain. That actually matters. Sanding against the grain creates scratches that will show up right through your paint.
Do this for maybe 30 seconds to a minute per surface. You aren’t trying to sculpt a masterpiece. You are just trying to rough up the surface enough so it feels slightly dull. If the wood feels slippery, keep sanding. When it feels a bit like very fine sandpaper, you are done. It’s that easy.
What Happens If You Skip the Primer?
Here’s a question I get a lot. “Can I just use primer instead of sanding?” It’s a good question, and I have tried it. Look, primer is your friend, but it is not a magic eraser for a smooth surface.
Primer does help cover up stains and provides a uniform base for your paint color. But it has the same bonding problem as regular paint. If the wood is too smooth, the primer will still peel off eventually. It might take a little longer, but the failure is still coming.
The real magic happens when you combine both. You sand first to create grip, then you prime to create a smooth base, and then you paint. That combination gives you a finish that can actually survive being packed away in a bin for eleven months of the year. Seasonal decor ideas need to be tough because they get handled all the time.
Three More Common Crafting Grumbles (And Quick Fixes)
Even if you master the sanding situation, there are a few other little things that can make your seasonal crafts look a bit cheap. I have made every single one of these mistakes, so you don’t have to.
- Skipping the wipe down. Sanding creates dust. Paint does not stick well to dust. Wipe your piece with a damp (not soaking wet) cloth and let it dry completely before you paint. Ten seconds of work, a huge difference in finish.
- Painting in a cold room. Paint hates the cold. It gets thick and gloopy, and it dries with a weird, uneven texture. Warm your paint can in a bowl of warm water for a few minutes if your garage is chilly. It is a game changer.
- Forgetting the back. You do not have to sand the back of a piece that only shows from the front. But if you are making two-sided ornaments, do both sides. Otherwise, the back will look like a different color and texture, and it will drive you nuts later.
These are the small details that people notice. They might not know why your crafts look better than your friend’s crafts. They will just think you are some kind of woodcrafting genius.
When Your Paint Job Goes Wrong, Here Is the Fix
So let’s say you skipped the sanding because you were in a hurry (I have been there, the Target dollar section called my name). You painted a cute little pumpkin and the paint is already peeling. Do not panic.
Grab your sandpaper and just gently sand the entire thing, right over the paint. You will have a dusty, messy, half-painted mess for a minute. That is okay. Sand it until the surface is smooth and the loose paint is gone.
Then, wipe it down, apply a fresh coat of paint, and let it dry. The second coat will adhere so much better because the first damaged layer is now rough. It is a second chance. It saves the piece and saves your sanity, and you will not have to start from scratch again.
Why Effort Always Wins in DIY Home Ideas
There is a huge difference between a craft that took twenty minutes and one that took an hour, and we can tell the difference just by looking at it. The extra time you spend sanding and prepping your wood is what makes your seasonal craft ideas look like they came from a boutique rather than a garage sale.
When you put a little bit of real effort into the foundation, it shows in every layer after that. The paint goes on smoother. The color looks richer. And you feel a little burst of pride every time you hang that wreath or place that little painted sign on your mantel.
It is a way of telling yourself that your work is valuable. You deserve to make things that you are proud of, not things that you have to apologize for with a little shrug.
My Last Plea for the Sanding Step
I know sanding feels like a waste of time. Honestly, I still groan every single time I have to do it. But then I remember the sad snowmen and I run to the hardware store for sandpaper before I start any new project.
Prepping your wood is the secret handshake of people who make serious crafts. It is the line between looking like a hobbyist and looking like an expert. Take the extra few minutes. Your paint will stick, your designs will stay crisp, and your hands will not be covered in peeling paint flakes at the end of the season.
Try it on your next little DIY home ideas project, even if it is just cutting a piece of scrap wood into a star. Sand it smooth, wipe it down, and paint it. I promise you, the difference is huge. And once you feel that satisfying, smooth finish, you will never skip the sanding again.
Anyway, go make something pretty. And please, for the love of craft store coupons, sand the wood first. You have got this, and I am cheering for you (and your paint adhesion).
Leave a Comment